









Our tanks are made of durable polyethylene and are engineer designed to last 20 years. However, our warranty period is subject to the tank being installed as per the instructions detailed below.
Above-ground Tanks
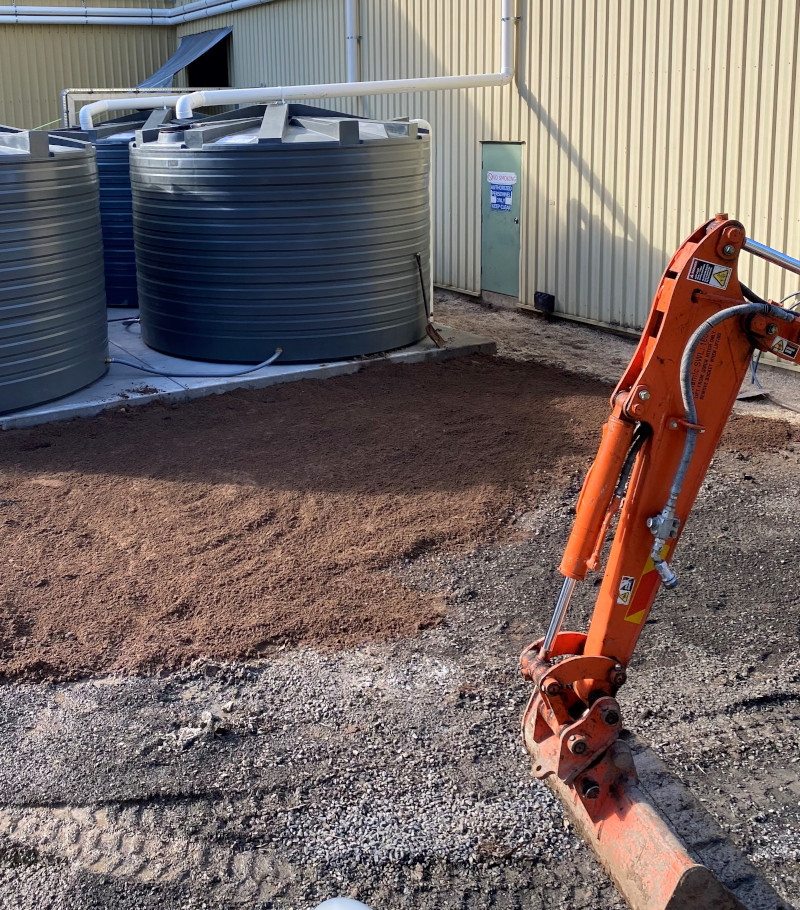
Tanks must be placed on a level, compacted surface, free from foreign objects such as stones and on a surface that possesses long-term stability. There are several options for the base material as listed below but our preferred and recommended base for installations is a concrete slab.
Soil
The soil must be correctly prepared to prevent subsidence - DO NOT position the tank directly onto loose soil. Soil / ground preparation requirements:
- First remove and/or form a base 75mm – 100mm in depth that is at least 100mm larger than the diameter of the tank base
- Mix sufficient crusher dust to fill the void with cement powder to make a dry base and place into the prepared area.
- Compact with a compactor or similar appropriate machinery
- Ensure that the surface is level, screeded if necessary, and free from sharp objects such as sticks, stones or tree roots that can pierce the base of the tank
Concrete Slab:
We recommended that the concrete slab is engineer designed to support the weight of the tank when full with the following minimum requirements:
- At least 100mm thickness
- Has sufficient reinforcement, either F72 or F82 mesh through the slab
- Slab is level and smooth – avoid rough screeding
- Tanks is not fully or partially buried
- Slab is at least 100mm wider on all sides than the base dimensions of the tank.
Sand:
Tanks other than slimline tanks can be installed onto a level bed of packing sand, 100mm thick and retained 300mm or greater than tank diameter to avoid undermining from wind, water or vermin.
Tank Stands:
If necessary, tank stands can be used but they must be designed by a consulting engineer, proof of which must be provided as part of any warranty claim.
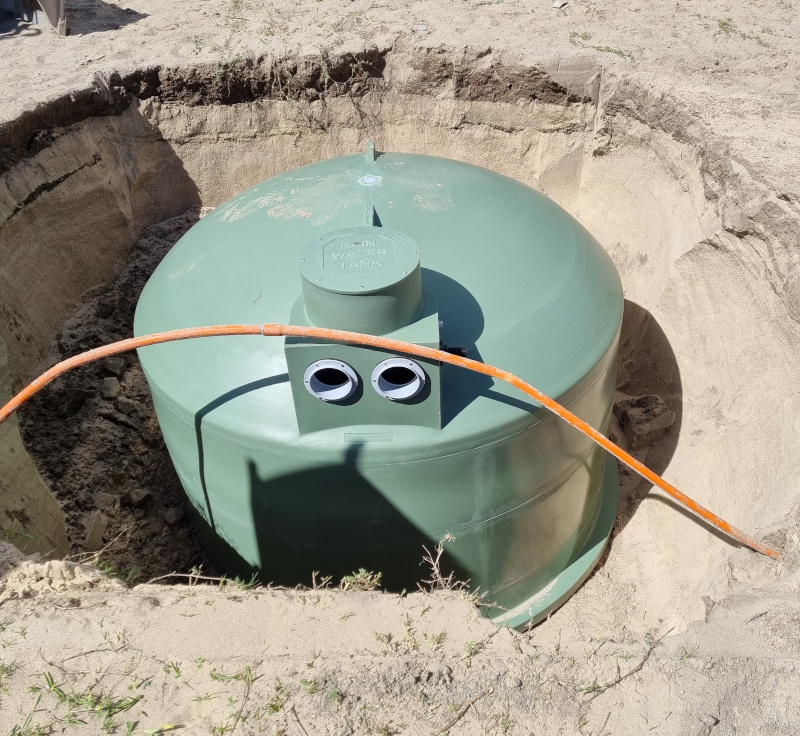
Underground Tanks
Our underground tanks have been built strong and are specifically designed to withstand the pressure of being buried. However, as each individual underground installation situation may be different, you MUST SEEK THE ADVICE OF A CONSULTING ENGINEER to guarantee the safety and longevity of your underground tank installation.
Poly Water Tanks can provide installation guidelines for your reference. Please contact us if these have not been provided.
Accessories and Fittings
At Poly Water Tanks, we will fit your strainer, overflows and any brass fittings as per your requirements at the time of ordering. In order to ensure the longevity of your tank, we recommend that any fittings or accessories installed by your trade professional follow the guidelines described below:
300mm Flexible Pipe when using a Pump: In order to minimise strain on the tank and fittings, it is advisable to install a 300mm flexible pipe (which can be supplied by your plumber or can be purchased from Poly Water Tanks at the time of placing your order) after the ball valve tap. See illustration.
Tank Overflows: These should always be piped away from the tank. See illustration.